Dealing with Springback in Car Interiors
Ever pull a part out of the mold and watch it warp right in front of you? It’s frustrating. That’s springback. It happens because the material is still holding onto internal stress—basically, it’s fighting you because the heat didn’t hit the right spots during the cycle. To fix this, you can’t just crank up the heat and hope for the best. That’s a recipe for melted edges. You need to be smart about where the heat actually goes.
Why Zoned Heat Actually Works
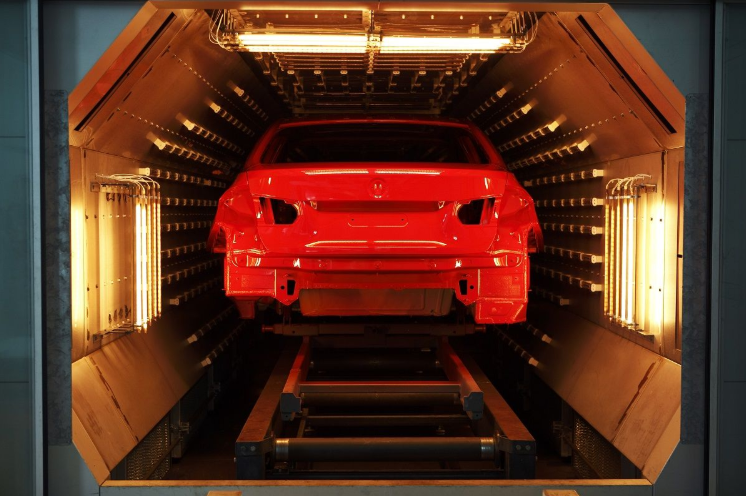
Think of it like this: your part isn’t a flat sheet of paper. It has thick chunks and thin edges. If you blast the whole thing with one big heat source, the thin parts fry while the thick core is still too cold to relax. That’s where IR zoning comes in. Instead of a “one size fits all” approach, we target specific areas. We pump more energy into the heavy sections and dial it back on the edges. When the material relaxes evenly, that internal tension disappears. The result? The part actually stays where it’s supposed to once it leaves the mold.
Getting the Technical Bit Right
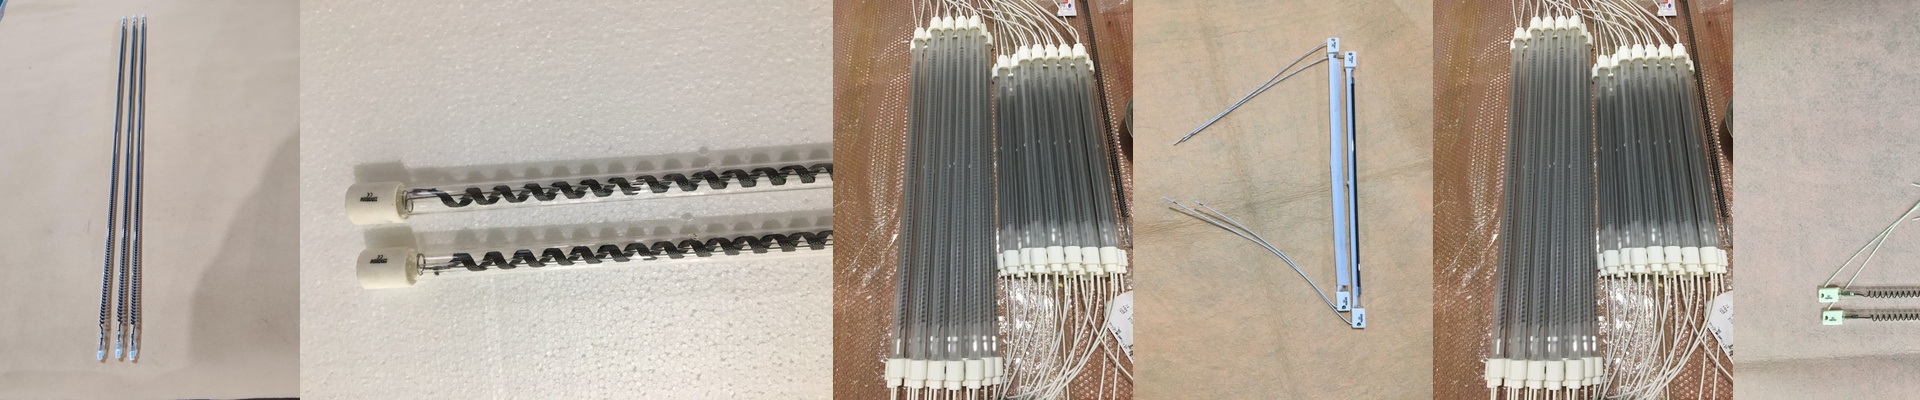
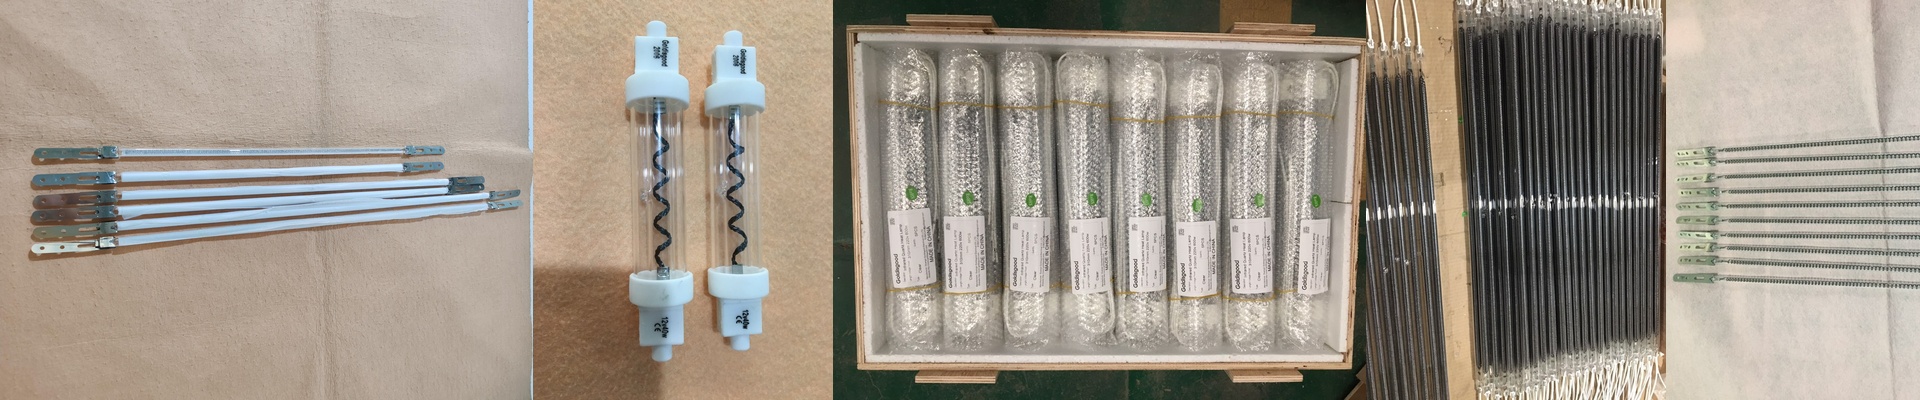
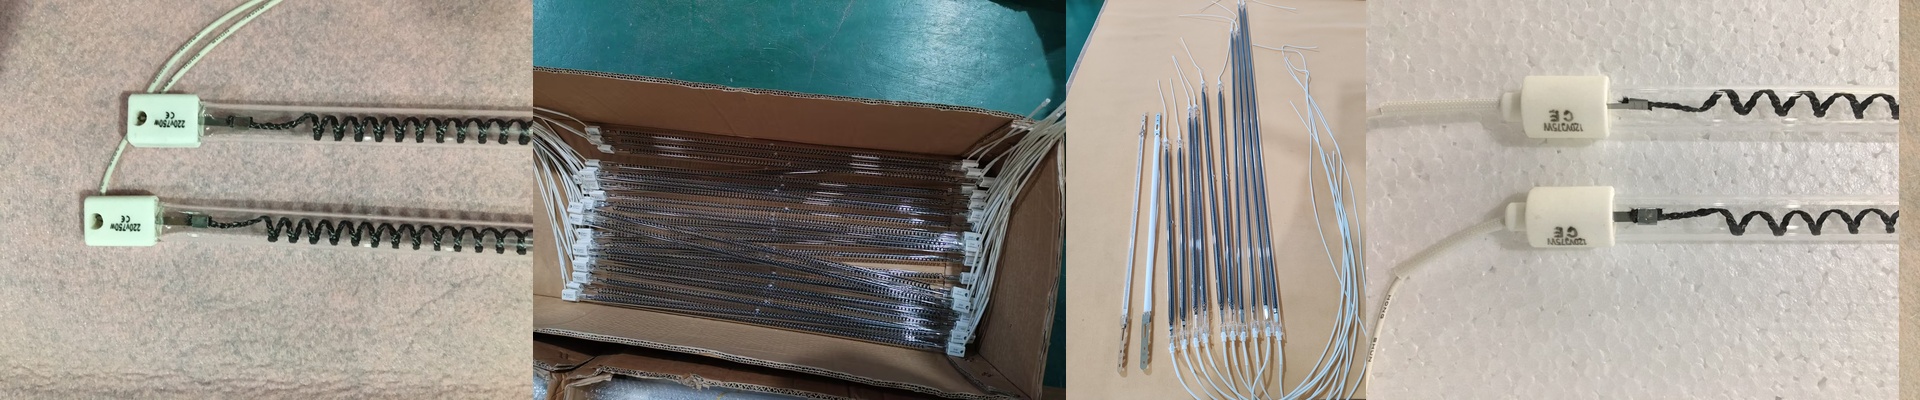
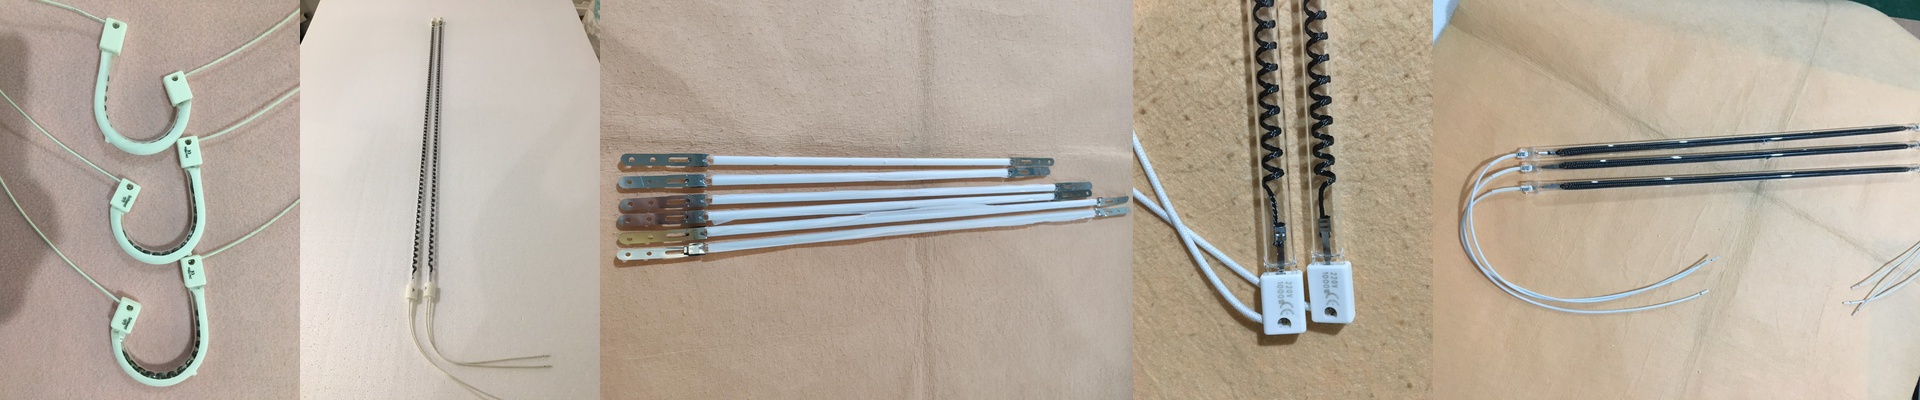
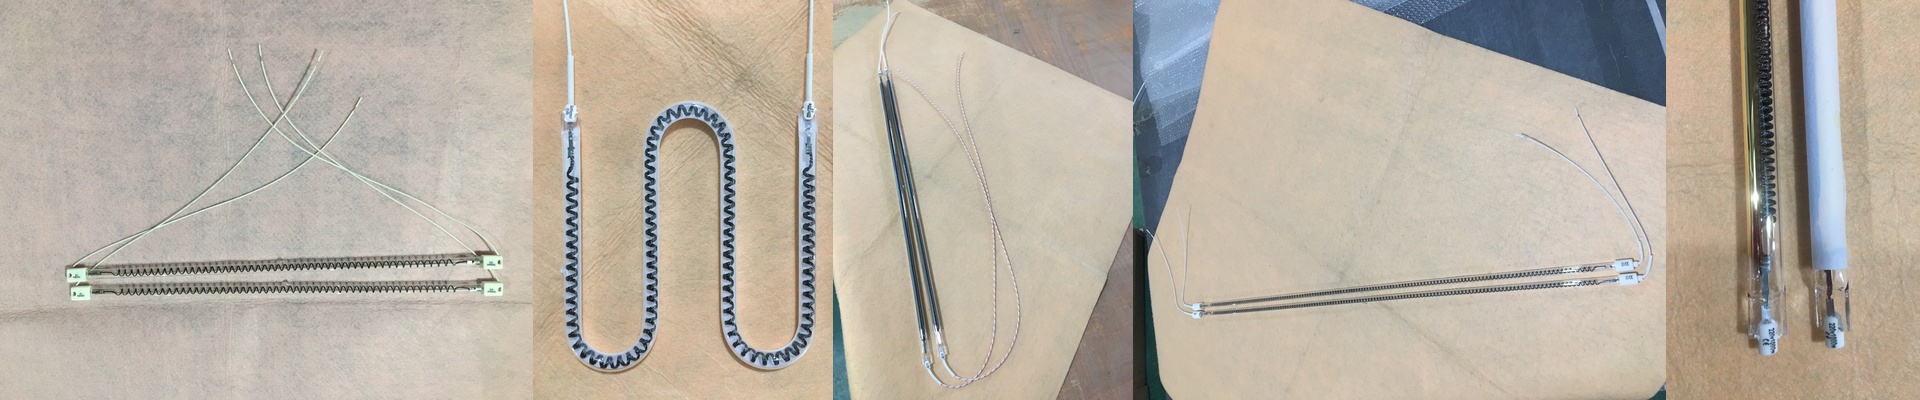
We use high-intensity, short-wave IR heaters for this. Why? Because short-wave heat doesn’t just sit on the surface; it digs deep into the plastic. You get a thorough soak through the entire cross-section, which is exactly what you need for stability. But here’s the trade-off: power versus time. Sure, you can push higher wattage to slash your cycle times. It’s fast. Really fast. But that puts a lot of stress on your reflectors. Plus, if you go that route, your cooling jigs have to be top-notch. You need to quench that part quickly to lock those dimensions in place before it has a chance to move.
Staying True to the CAD
At the end of the day, we just want the part to look like the drawing. By mapping the heat to the actual mass of the part, you stop those uneven temperature swings that cause shrinkage. It’s a much more natural way to handle the material. When the heat matches the geometry, the part just… behaves.