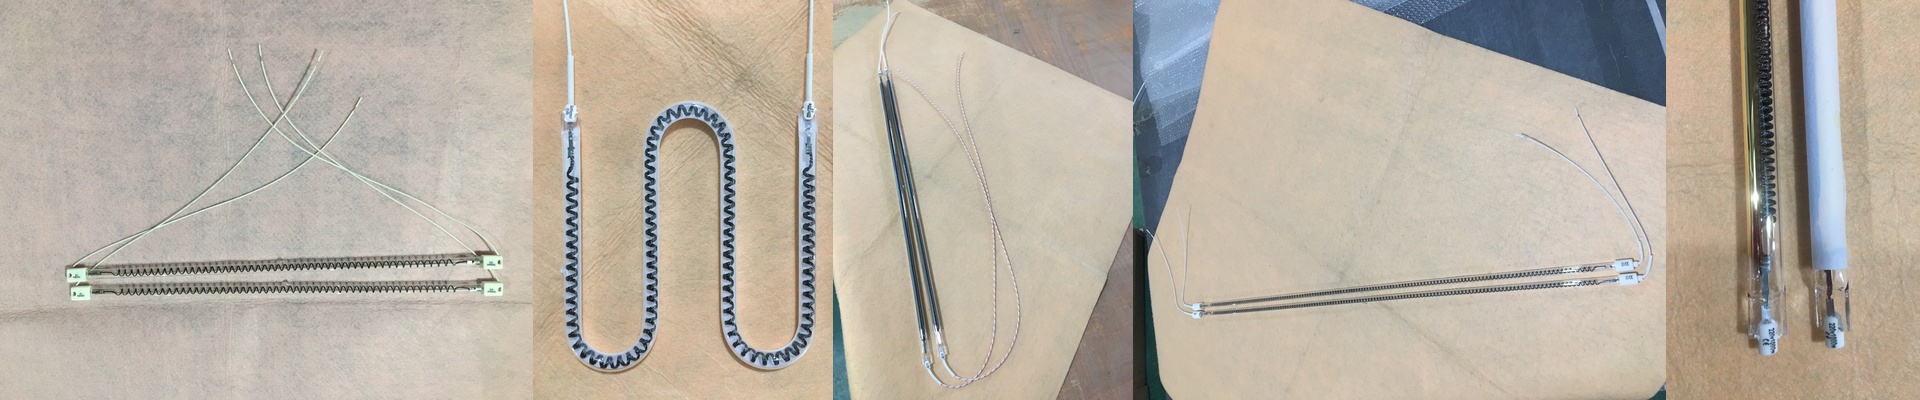
Getting the Heat Right: How We Handle IR Lamp Layouts for Brake Pad Walls
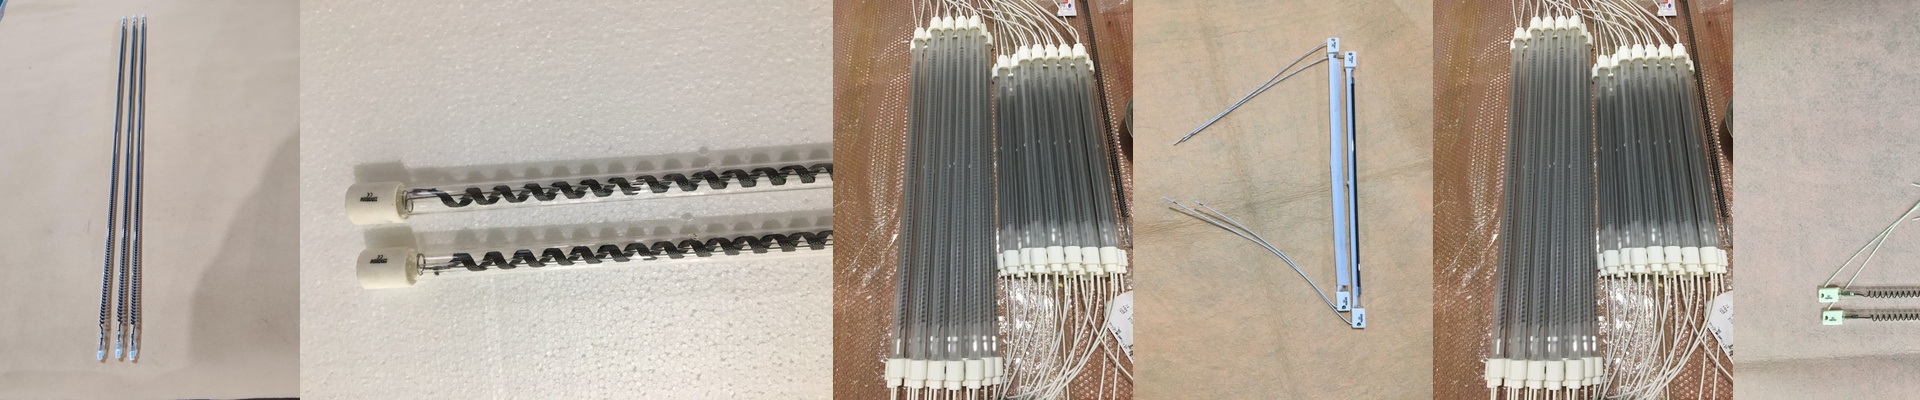
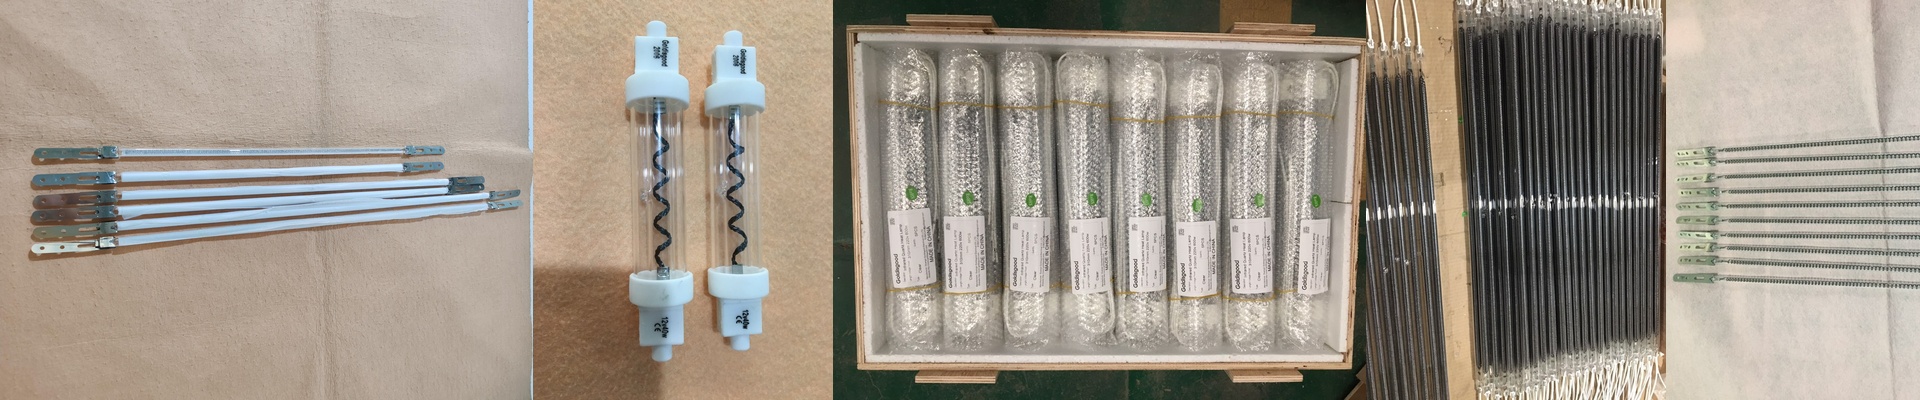
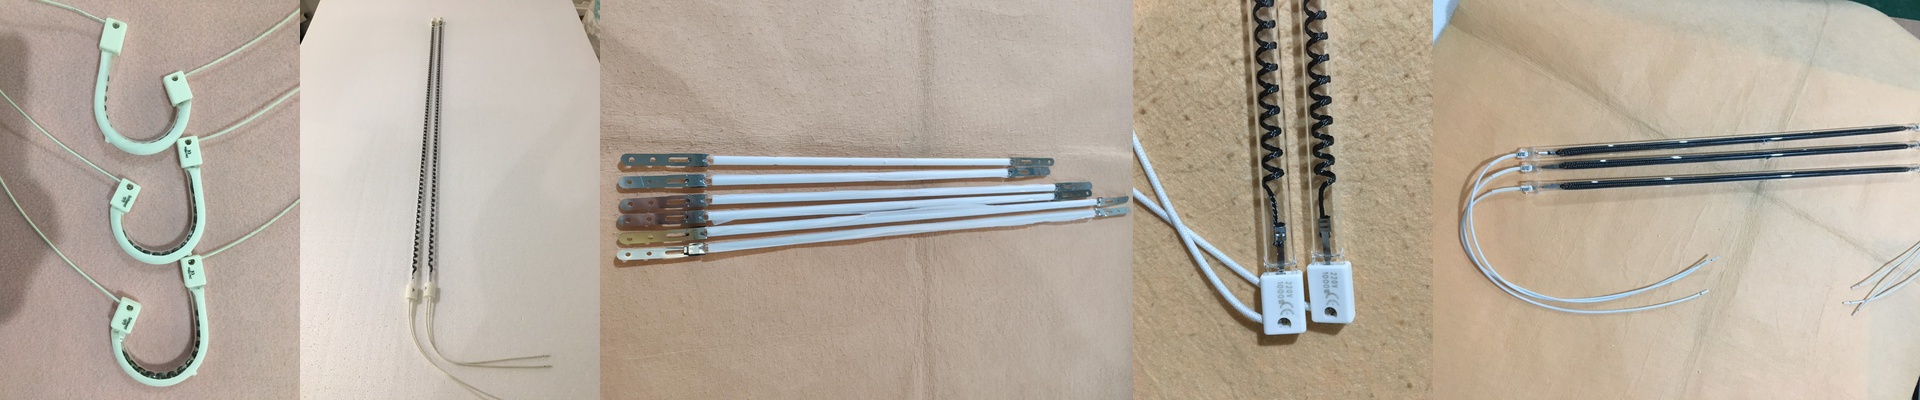
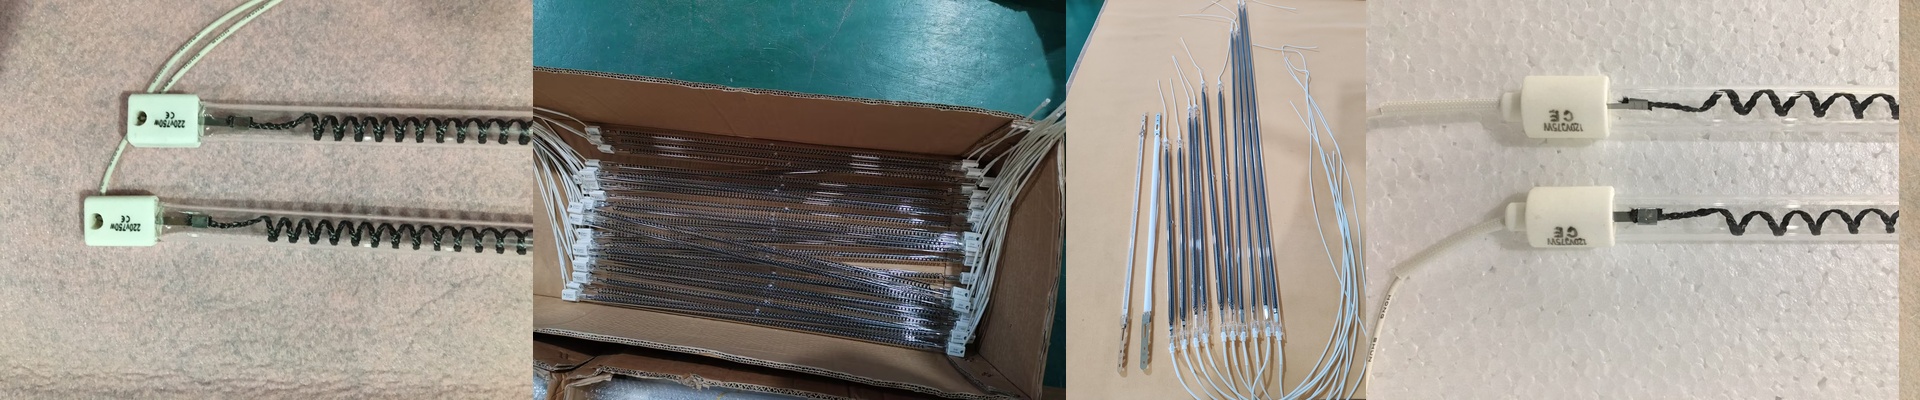
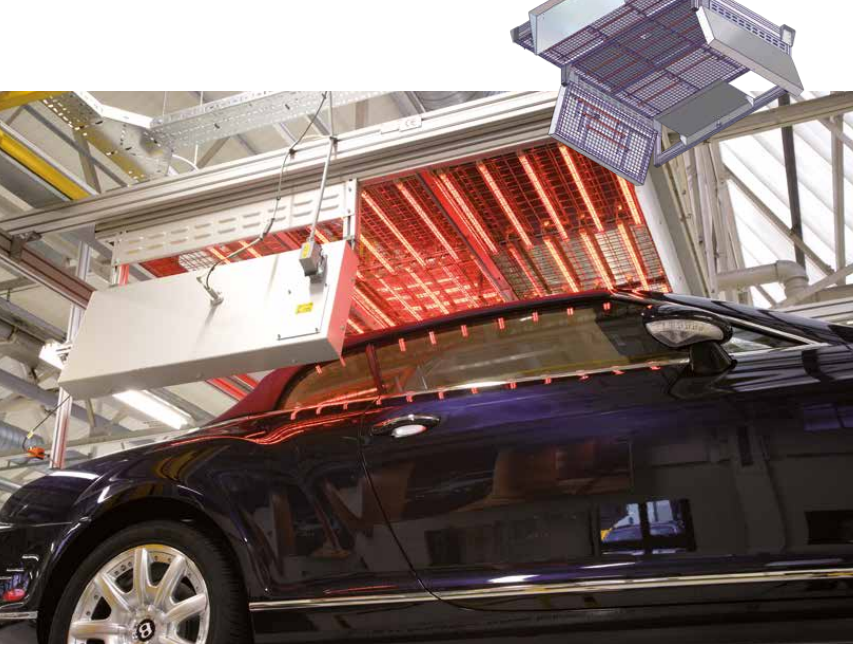
If you’ve ever worked with brake pad coatings, you know the struggle. You need the material to cure perfectly, but if you’re off by just a few degrees, you end up with scorched parts or—even worse—spots that didn’t cure at all. When we build custom heating walls, the whole game comes down to where those infrared (IR) lamps actually sit. Get the vertical spacing wrong, and you’re just fighting hot spots all day. Matching the heat to the part Here’s the thing: a heavy-duty truck pad and a small passenger car pad are completely different beasts. You can’t just throw a standard grid of lamps at them and hope for the best. That’s a great way to waste electricity and ruin a batch of parts. Instead, we look at the actual footprint of your pads. For those big, chunky heavy-duty pads, we pack the lamps closer together to really drive the heat in. For the smaller stuff? We widen the gaps. It keeps the coating from bubbling or burning. Dealing with the “Heat Rise” problem We don’t just line the lamps up like soldiers in a row. That doesn’t work in the real world. We group them into zones that you can control independently. Why? Because heat rises. The top of your oven is naturally going to be toastier than the bottom. To fix that, we usually beef up the wattage or tighten the spacing at the bottom to keep things even from top to bottom. The balancing act It’s tempting to just cram as many lamps in as possible to get a perfect cure. But there’s a catch. Too many high-wattage tubes in a tight space can actually warp the metal structure of the wall. It’s a mess. You have to make sure your fans and vents are actually pulling that ambient heat away from the housings. If those housings get too hot, your lamps are going to burn out way sooner than they should. Making it easy to change Production changes. One day you’re doing cars, the next you’re doing trucks. You shouldn’t have to tear down a whole wall just to adjust your heat profile. That’s why we use slide-in mounting brackets. You just slide the lamps to the new position, wire them up, and you’re back in business. It’s simple, fast, and keeps your team from pulling their hair out during a changeover.