Getting Your IR Heating Wall Right for Every Part Size
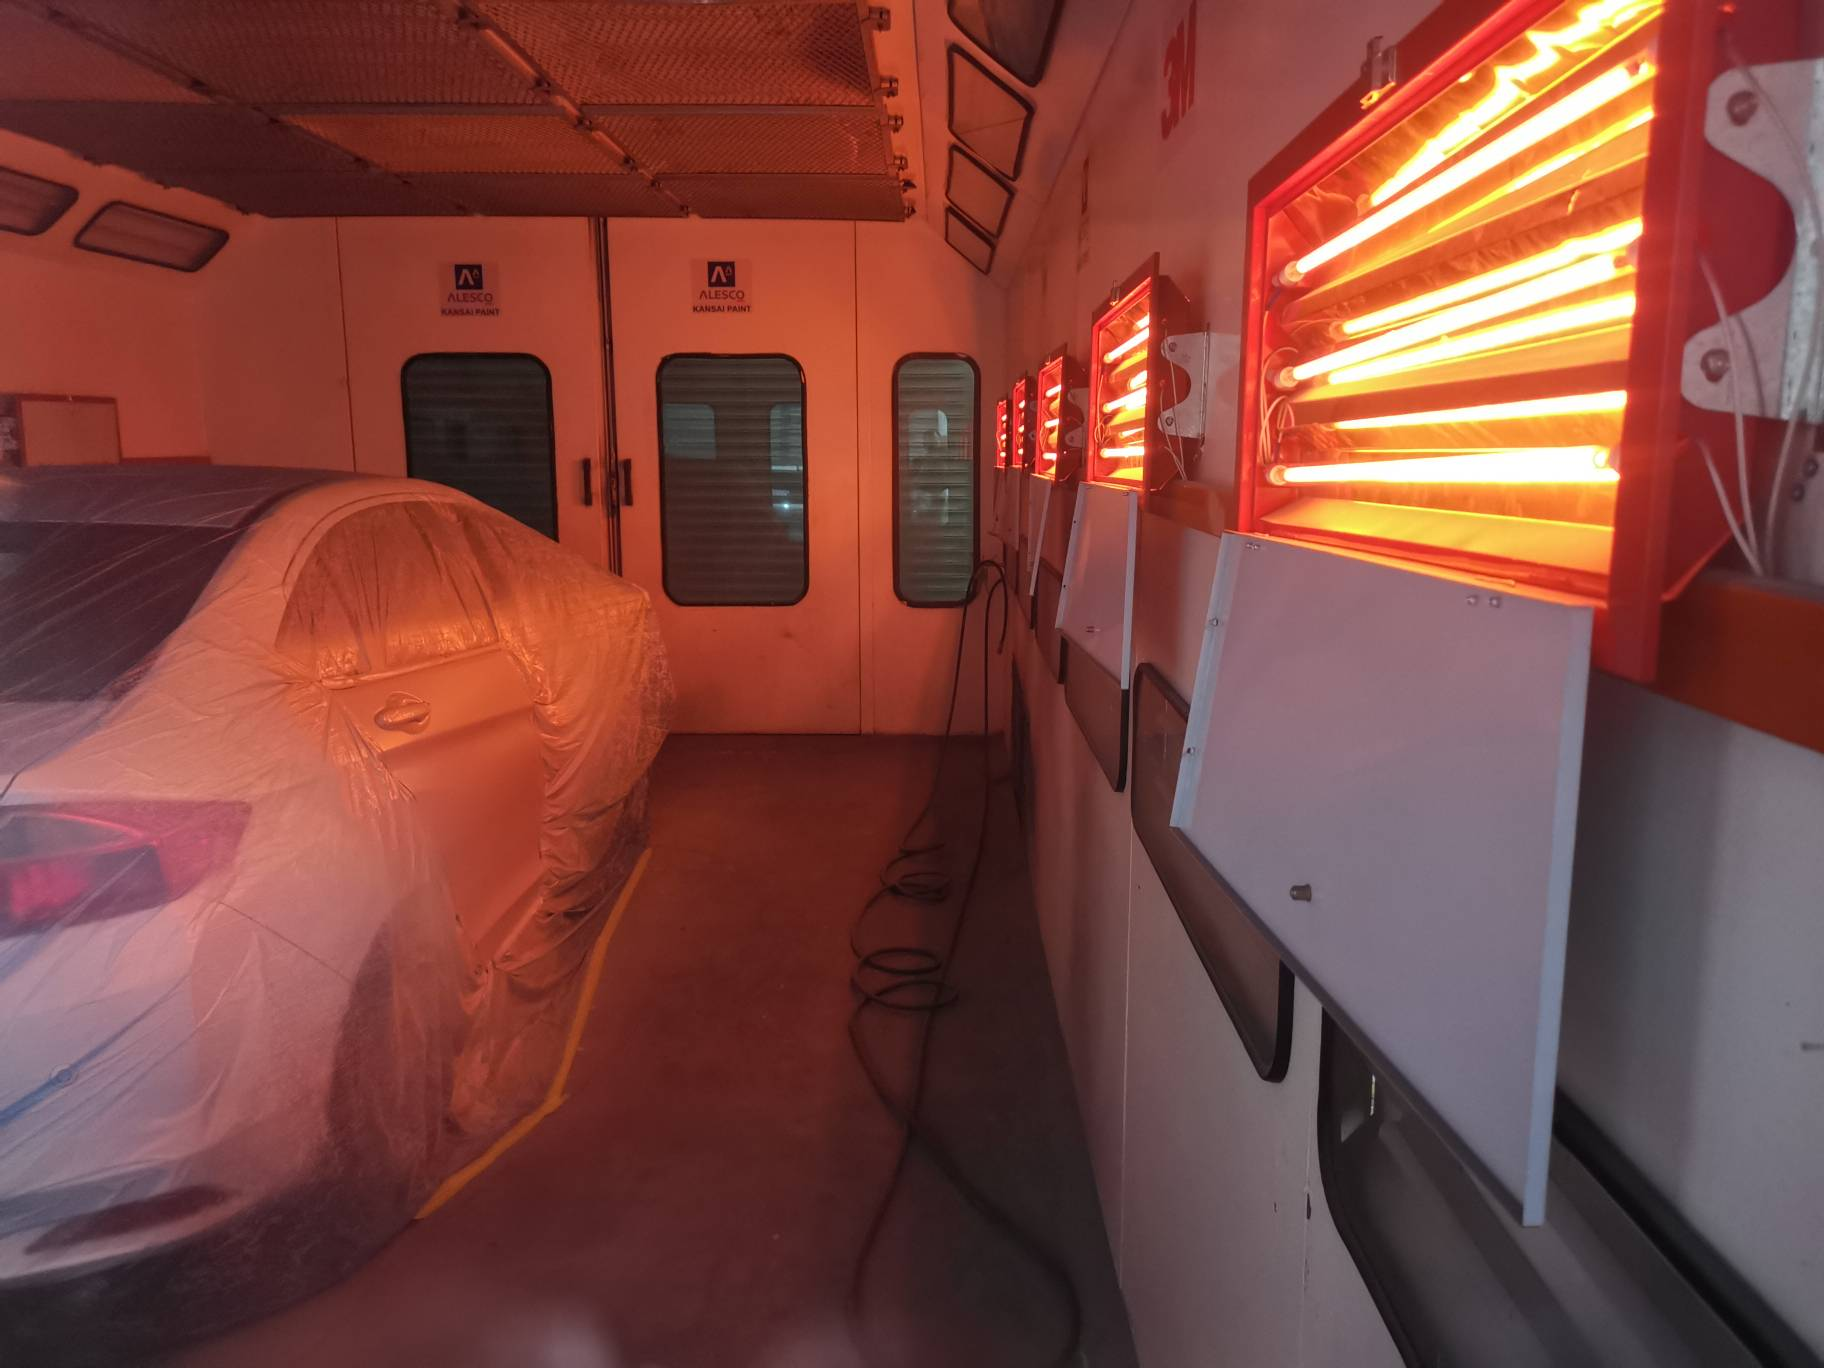
If you’re setting up a heating wall for brake pad coating, you quickly realize that just throwing more wattage at the problem doesn’t work. Here’s the real issue: vehicle models change. The parts change. If you just space your infrared lamps evenly across the wall, you’re asking for trouble. You’ll end up with cold spots on the big stuff and burnt edges on the small stuff. Nobody wants that. Getting the layout right We don’t just guess where the lamps go. We look at how the specific brake pad or disc actually absorbs heat. For those chunky, heavy-duty components, we pack more lamps into the center of the wall. Why? Because radiation drops off fast as you move away from the source. Even a tiny 50mm gap can kill your heat flux. To stop “zebra striping”—those ugly, uneven cured lines—we stagger the lamps. No strict grids here. It just makes the heat hit more naturally. Power, heat, and the trade-offs Shortwave IR lamps are great because they cure fast. But they’ll eat through your electrical capacity if you aren’t careful. The trick is using zoned controls. We split the wall into top, middle, and bottom banks. That way, if you’re running small car pads, you can dial the power back. When the big truck parts come rolling in? Crank it up. Just a heads-up: these high-density clusters get incredibly hot. If your exhaust fans aren’t powerful enough to pull that air out, your thermal cut-offs will trip, and your whole line stops. Not a fun way to spend a Tuesday. Keeping it simple to maintain We use slide-in mounting brackets. It’s a simple fix that makes a huge difference. Instead of tearing the whole wall apart, you can just shift the lamps up or down. When you switch production to a new vehicle model, you can re-index everything in a few minutes. One last thing: don’t cheap out on the wiring. Use high-temp cables. The cheap stuff will literally melt or burn out within a month in a curing oven. It’s just not worth the risk.